

https://www.ringg.ai/dashboard. Each section below links to the page that covers it; how the objects relate is in How Ringg works.
Sign in for the first time
There is no password.1
Sign in with Google or email
The sign-in page (Welcome back, “Sign in to Ringg AI”) offers Continue with Google and Continue with Email.With email: enter your address, click Send OTP, then type the 6-digit code from the email within 5 minutes; it submits as soon as the sixth digit is in. Resend OTP unlocks after a 60-second countdown.The page runs a Cloudflare browser check first. If it reports “Unsupported browser detected, please change your browser to continue.”, open the page in another browser.By continuing you accept Ringg AI’s Terms of Service and Privacy Policy, and periodic update emails.
2
Answer the onboarding questions (new workspaces)
A new workspace opens on a three-step questionnaire (Step 1 / 3 with a progress bar). Continue is enabled once the step’s fields are filled; the last step’s button is Let’s Start.
- Help us understand your use case better!: Startup, Agency, Enterprise or Personal project.
- We need a few more details.: the fields below, all required.
- Where did you hear about Ringg AI?: Google, YouTube, LinkedIn, X, Blog, News, Friends or Others (with a text box).
3
Land on Agents
You see “Logged in successfully.” and, after onboarding, “Onboarding completed successfully!”. The dashboard opens on the Agents page (Assistants in the sidebar), or on the page you were headed to, such as an invite link.
Join a workspace from an invite
An invite to someone else’s workspace (Invite a member) comes with a 6-digit code, and its join page is/dashboard/invite/<code>. Open it; if you are not signed in, the sign-in page (and onboarding, for a new account) runs first and then returns you to the link. Sign in with the invited email address: the code works for no other account.
The Join workspace page asks for the code (“Enter your 6-character invite code”), filled in from the link. Click Join.
“You have joined the workspace” appears, the dashboard switches to that workspace, and the Agents page opens. Switch between your workspaces with the workspace switcher in the top bar.
The screen
A tour of the dashboard sections
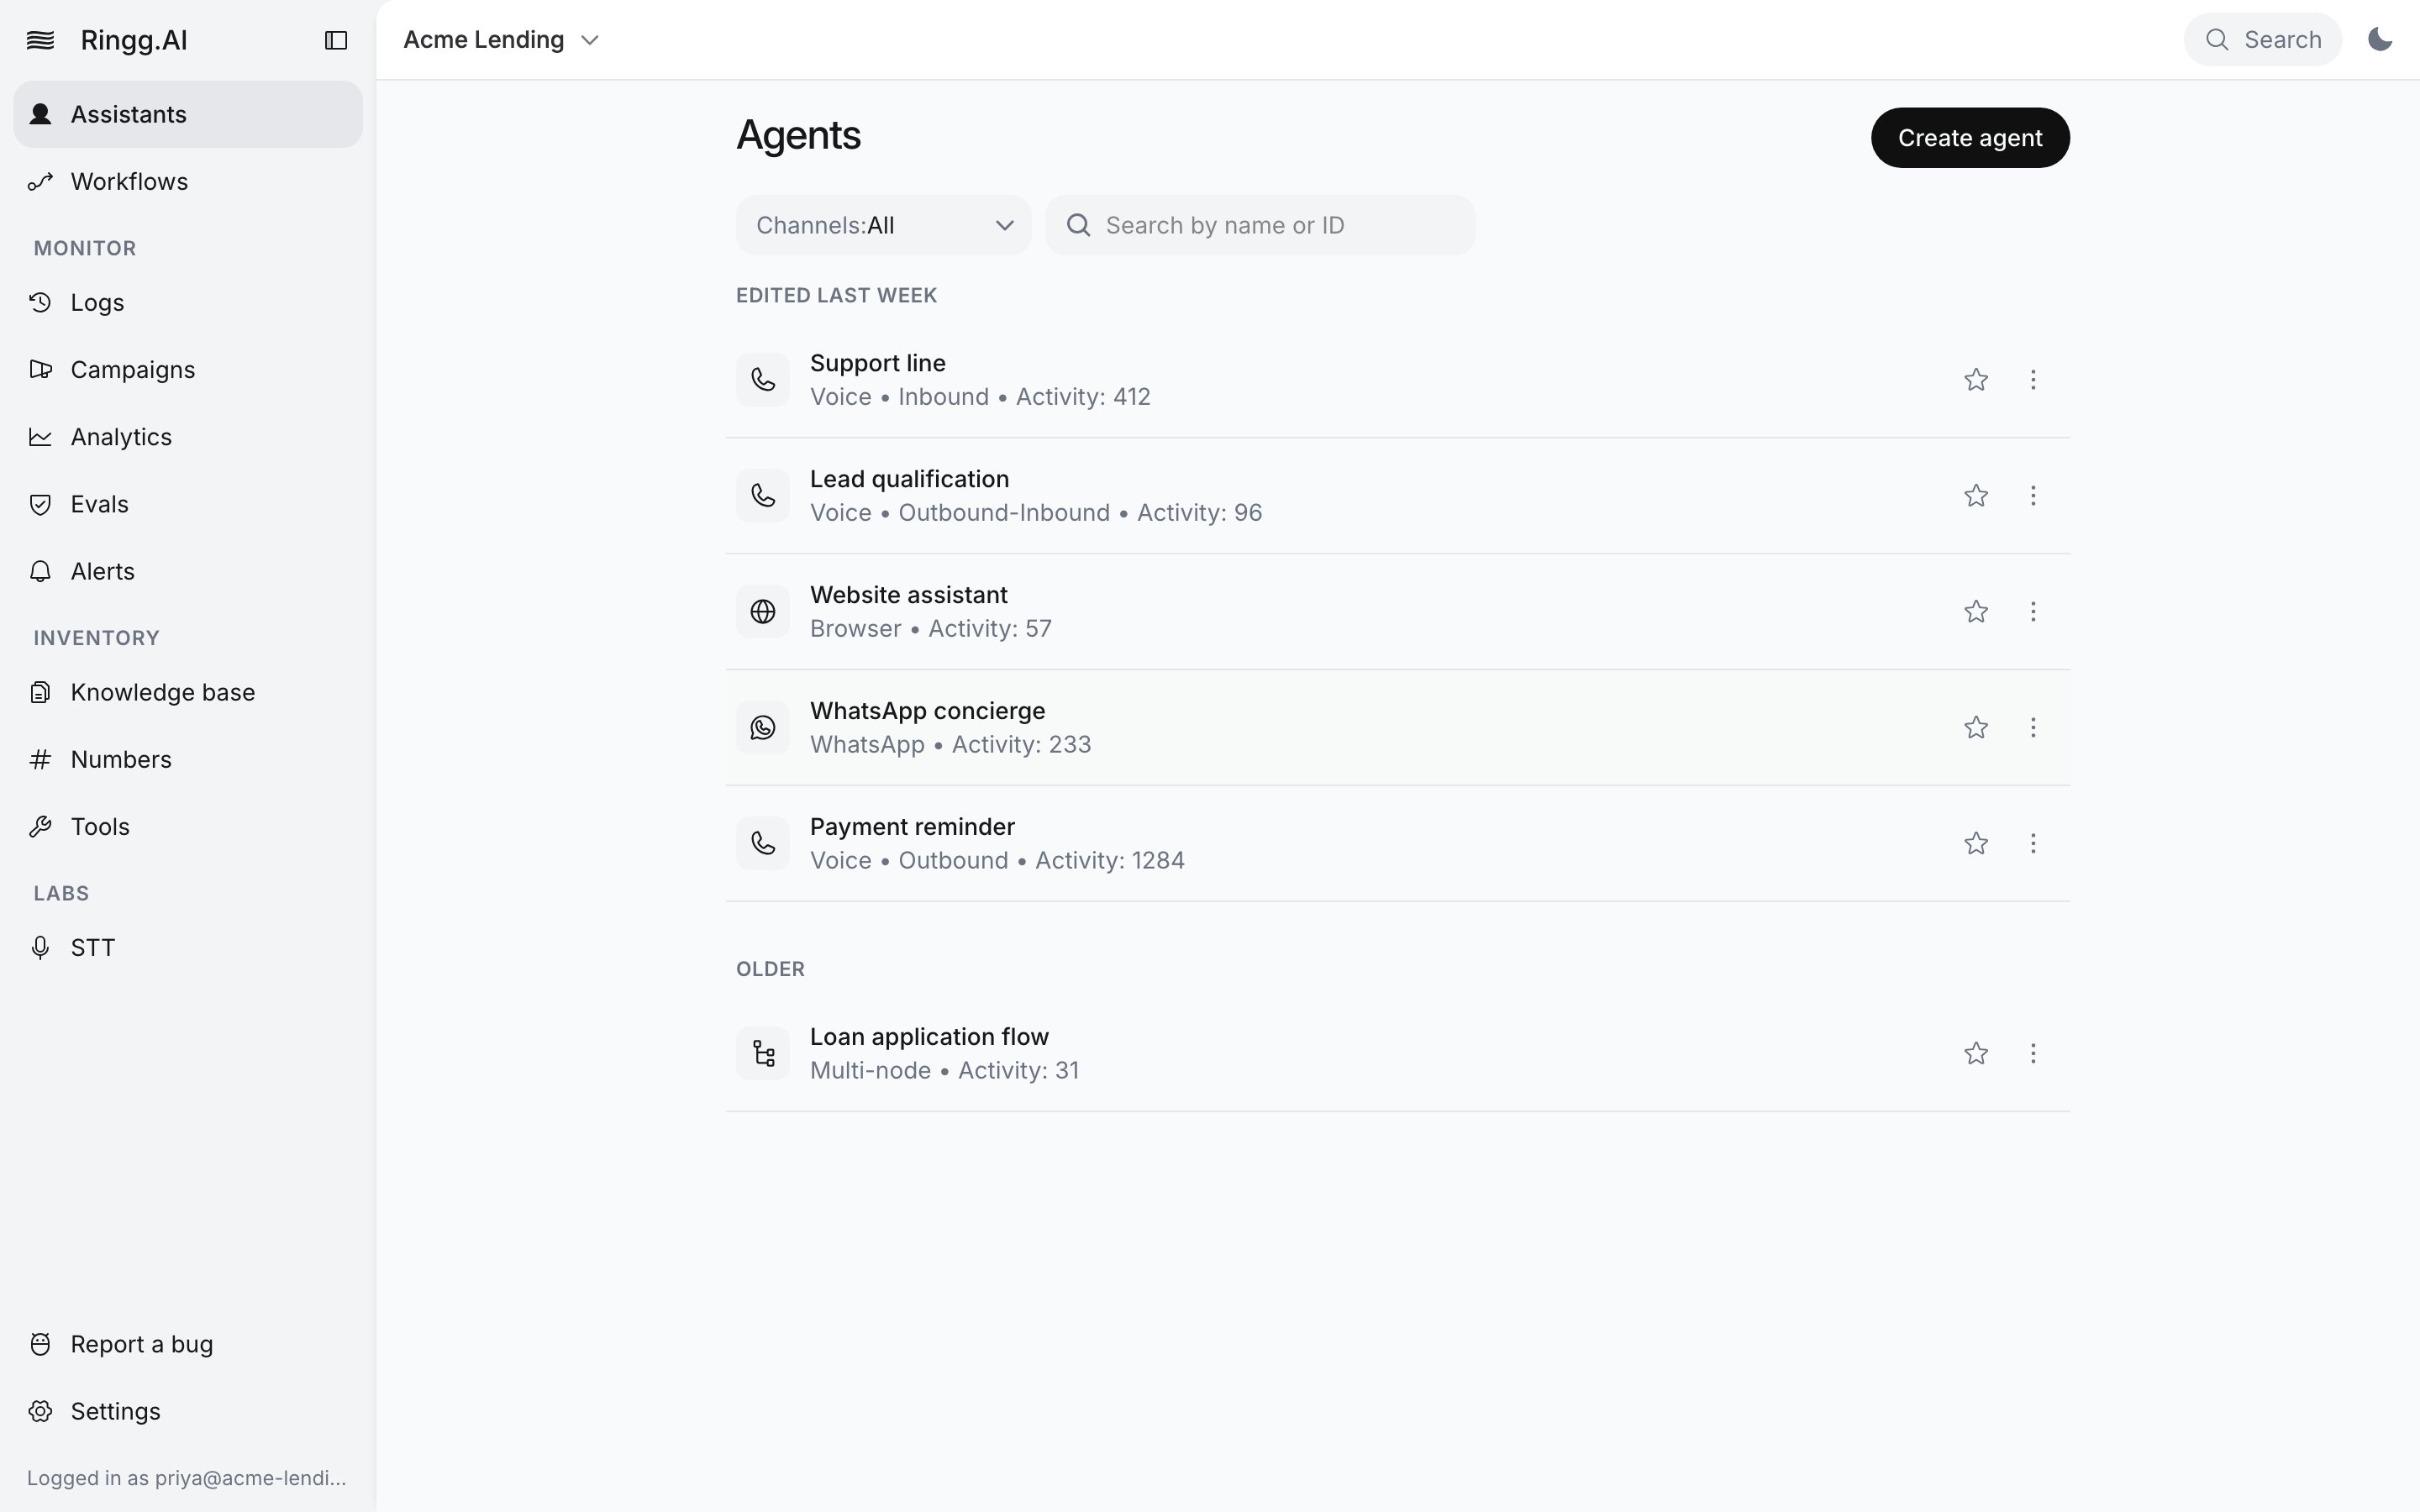
The dashboard: sidebar, top bar and the Agents page
Sidebar
Assistants and Workflows sit at the top; the rest is grouped under Monitor, Inventory and Labs.
At the bottom of the sidebar are Report a bug, Settings and the email you are logged in as.
Report a bug
Report a bug opens the “Something not working?” form, which goes to Ringg. Summary (up to 160 characters) and Details (up to 4,000 characters) are required. Pick a Severity: Critical (P0, 100+ users affected), High (P1, 10–100 users affected), Medium (P2, limited, non-critical impact) or Low (P2, minor, no customer impact). Attach up to 5 files, 4 MB in total, then click Submit report.Top bar
Command palette
Type to find any section or settings page, or jump to an agent, campaign, knowledge base or workspace by name (on a primary hub, agents, campaigns and knowledge bases are not listed). The footer shows Open, Copy ID and Close for the highlighted row. To open something by ID, press a shortcut below anywhere in the dashboard, paste the ID and press Enter.Settings
Settings has its own left menu, grouped under Workspace, Access and Billing.
The settings menu also has Contact us (an email to Ringg support) and Logout.
IDs your developers need
Dashboard work produces the IDs the API and webhooks use. Copy them here and hand them over with the names.Primary workspaces show fewer sections
When a workspace has Ringg Spaces, it becomes the family’s primary workspace, a management hub. Its sidebar keeps only Logs, Analytics, Alerts and Settings, and it opens on Logs, where the workspace filter covers every Ringg Space. Any other section’s URL redirects to Logs. Settings keeps every item except Call limits, which each Ringg Space sets for itself. To build agents, buy numbers or run campaigns, switch to a Ringg Space with the workspace switcher. See Ringg Spaces.When the workspace is locked
Ringg can lock a workspace, for example a prepaid workspace that stays out of balance (If the workspace is locked). Every section except the ones the lock allows then shows a lock screen with a title, the reason, and, when there is an action that lifts the lock, a button for it. Complete the action, then refresh the page (“Refresh the page after completing the action.”). If the reason is unclear, use Contact us in Settings.Next steps
Pick an agent type
Channels, single- or multi-prompt, and the Agents page.
Create an agent
Start from a template or from scratch.
Get a number
Buy, import or add a number for your agents.