A WhatsApp agent needs a WhatsApp Business account connected to your workspace and at least one registered number. Both are set up here, and the account page that results is also where templates live. In the dashboard: Tools → Add more tools → WhatsApp Business, or Numbers → WhatsApp.

Before you start

  • A Facebook login with admin access to your Meta Business portfolio, or permission to create one.
  • For your own number: one that can receive an SMS or a voice call and isn’t active on the WhatsApp or WhatsApp Business app. Skip this if you will get a Ringg number.
  • The display name customers will see, following Meta’s display name rules.
  • Ad blockers and privacy extensions paused for the dashboard; they block Meta’s sign-in window.

Connect your WhatsApp Business account

Ringg connects through Meta’s Embedded Signup: you sign in with Meta in a pop-up and share a WhatsApp Business account with Ringg, existing or new. Ringg never sees your Facebook password, and Meta’s window doesn’t ask for a phone number; you add numbers in the next section.

Connecting WhatsApp Business, registering a number and creating a template; Meta's sign-in window is not shown

1

Start the signup

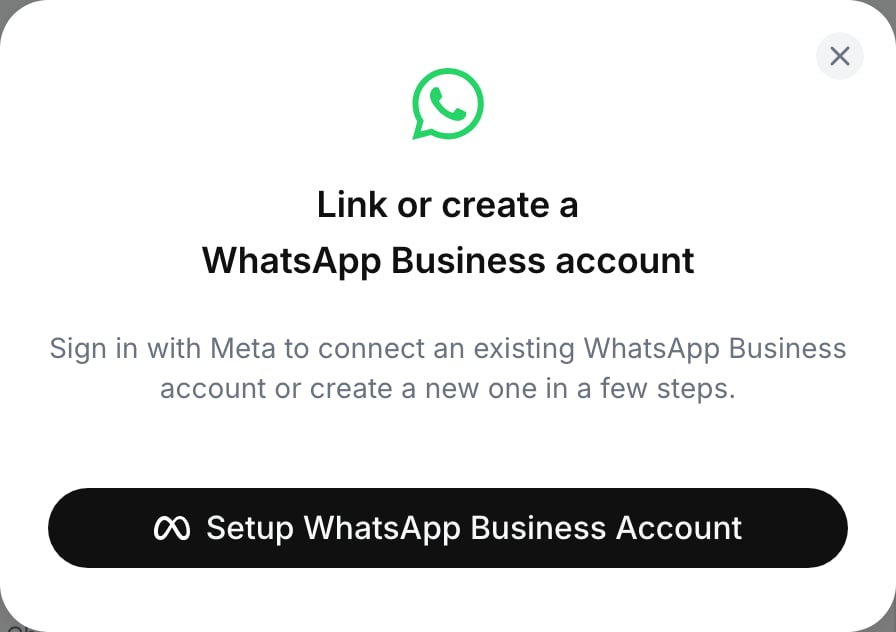
In the sidebar, open Tools and select the WhatsApp Business card under Add more tools. In Link or create a WhatsApp Business account, select Setup WhatsApp Business Account. Meta’s Facebook Login for Business window opens.
Dialog titled Link or create a WhatsApp Business account with a Setup WhatsApp Business Account button carrying the Meta logo

The Link or create a WhatsApp Business account dialog

2

Share the business assets in Meta's window

Log in to Facebook if asked and check that the account shown owns your business. Pick your Business portfolio and WhatsApp Business account, or create new ones from the same lists, review what Ringg gets access to, and select Finish. Add payment method is optional here; you can add one in Meta Business settings later.
3

Return to Ringg

The dashboard button reads Setting WhatsApp Business Account while Ringg finishes setup. The account page then opens with two tabs, Phone numbers and Message templates, and no numbers yet.
The toast WhatsApp connected appears, and the WhatsApp Business card on the Tools page shows 1 Connected and opens the account page directly.

Add a number

Select Add number on the Phone numbers tab, or on Numbers → WhatsApp. Pick where the number comes from: Take a Ringg number when you have no spare number or want to be live in minutes; add your own when customers already know it or you need a non-India number. Only a registered number can send and receive messages or be attached to an agent. If several WhatsApp Business accounts are connected, Numbers → WhatsApp shows one section per account, each with its own Add number.

Get a Ringg number

1

Pick a number

In Get Ringg number, choose from the list of India numbers; it shows each number’s location and monthly price.
2

Name it

Enter Name shown on WhatsApp. It must match your business name; Meta reviews it before it appears in chats. Select Get number.
3

Wait for setup

Setting up number shows four stages: Buying number, Adding to WhatsApp, Verifying number and Ready. It takes about 2 minutes and continues if you close the dialog; the row shows Setting up… until it’s done, and selecting the row reopens the progress. During verification the stage reads Meta is calling or Manual review.If a stage fails, the row shows Setup failed; open it and select Retry setup to continue from that stage.
The toast Number connected appears and the number is listed as Ready with a Ringg tag.
A Ringg number has Release instead of De-register. Releasing disconnects it from WhatsApp and stops billing; the number can’t be recovered afterwards. It stays listed as disconnected in Meta’s WhatsApp Manager, where an admin can delete it.

Add your own number

1

Enter the number

Choose Own number. Enter the Phone number with its country and the Verified business name customers will see. Select Continue.
2

Verify it with Meta's code

Choose SMS or Voice call, select Send code, then enter the 6-digit code and select Verify. Resend code sends another.
3

Register it

The number now shows Pending with a Register button. Select it, optionally set a 6-digit PIN for two-step verification (blank keeps the default), and select Register. Keep the PIN: Meta asks for it if the number is ever registered again.
The toast Number registered appears and the row shows Ready.
An own number passes through three states, and the row’s button tells you which one it’s in:

De-register a number

De-register stops the number sending and receiving WhatsApp messages until it’s registered again. Archive the local number record is ticked by default; it also removes the number from Ringg and detaches it from its agent, and the dialog names that agent.

Message templates

A template is a message Meta has approved in advance. WhatsApp requires one for any message you start outside the 24-hour customer service window: follow-ups after a chat, reminders, a message after a voice call, or the first message to a customer. Manage them on the Message templates tab.
1

Create a template

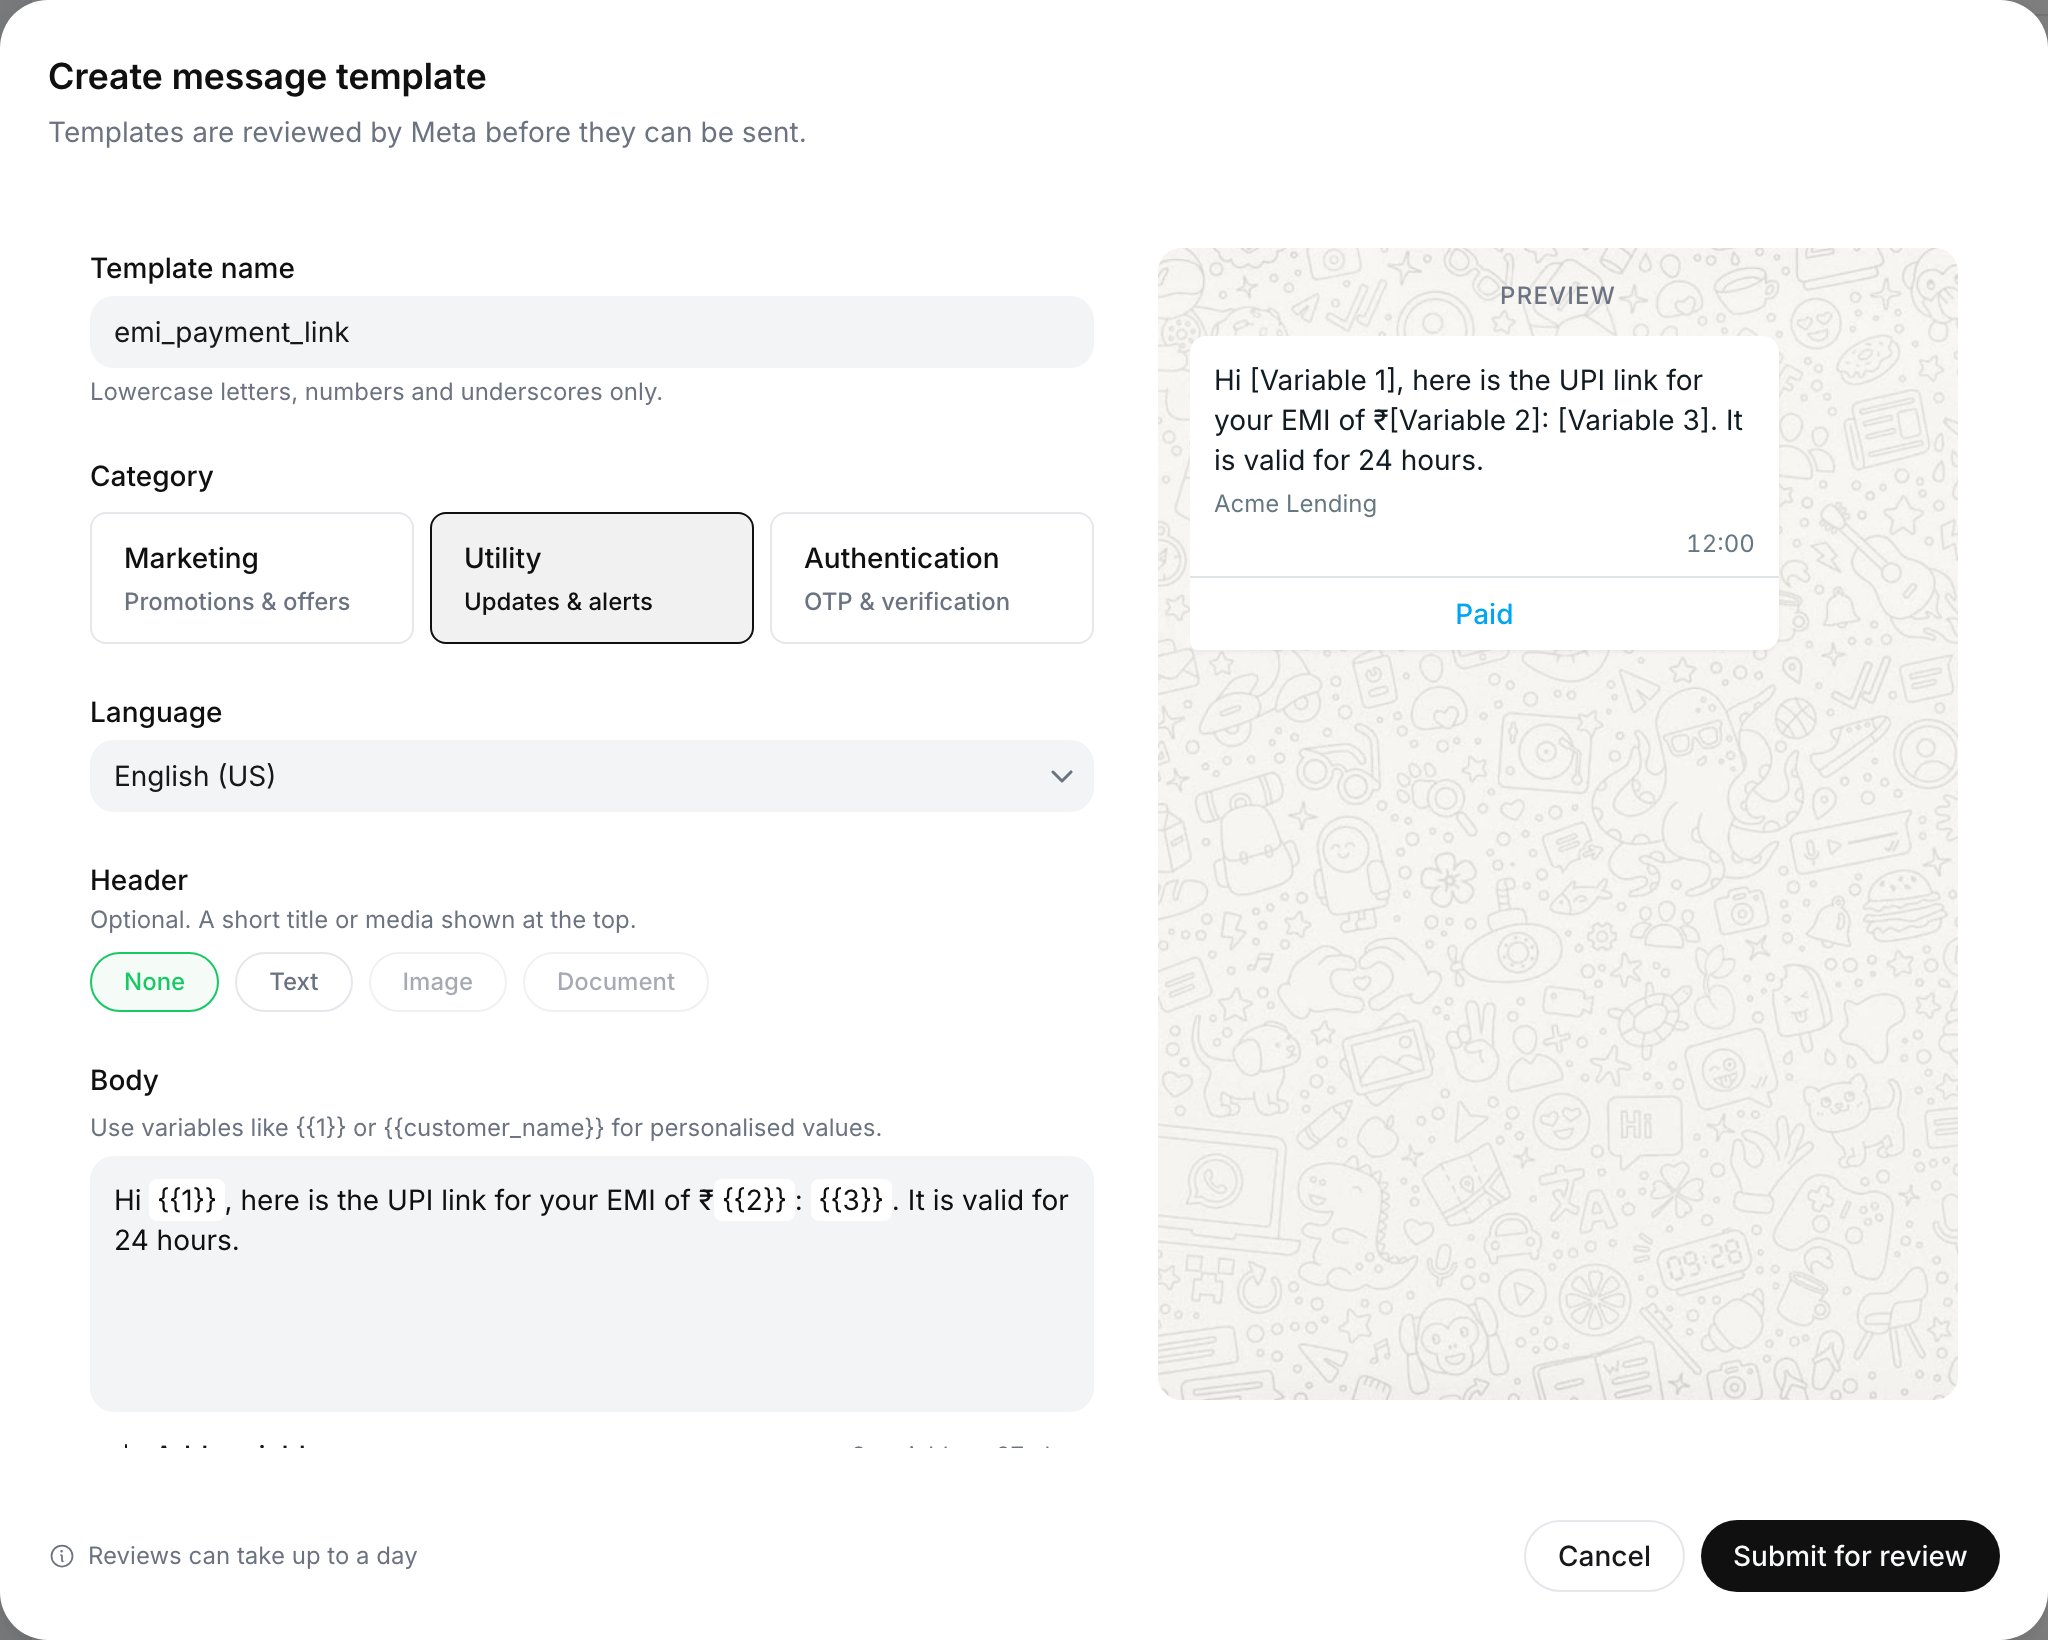
Select New template and fill in:The preview shows the message as a WhatsApp bubble while you type.
Create message template dialog: name emi_payment_link, category Utility selected, language English (US), header None, a body with three numbered variables, and a WhatsApp-style preview of the message with a Paid quick reply button

The Create message template dialog with a live preview

2

Submit for review

The template shows In review until Meta decides; see Meta’s template review.

Variables: numbered or named

Use one style per template, never both. Add variable inserts the next variable in the style the body already uses. Named variables are lowercase and start with a letter. In a tool, each variable gets a row labelled with its name:
Named
Numbered variables run in order from {{1}}. A text header can have one variable, and it must be {{1}}:
Numbered

Template status

The table lists each template’s name, category, language, status and Last used date. Each template’s ⋮ menu has Send test (Ready only), Edit (Ready, Rejected or Paused), Duplicate and Delete. Deleting removes the template from Meta and can’t be undone. Templates created outside Ringg with media headers or link buttons can be sent, but not edited or duplicated here.

Send a test

Send test on a Ready template asks for the Recipient number with its country code, such as +919876543210, the Send from number (a registered one), and a value for every variable.

Disconnect the account

Disconnect account, at the top of the account page, de-registers every number on the account and unlinks the WhatsApp Business account from your workspace. It can’t be undone; to use the account again you reconnect through Meta. Disconnecting is blocked while live agents still use this account’s WhatsApp tools (the message names them), or while Ringg numbers are still on the account. Remove those tools or archive the agents, and release the Ringg numbers, first.

Troubleshooting

An ad blocker or privacy extension is blocking Meta’s script. Allow it for the dashboard and refresh the page.
The Meta window closed before you finished. Start again and complete every step, including Finish.
Retry once. If it keeps failing, contact support with the time you tried.
The account is linked to another Ringg workspace. Disconnect it there first. Reconnecting the same account in the same workspace is safe and refreshes the access token.
The account is set up for WhatsApp Relay. Remove the relay registration before connecting it here.
Meta wants the number verified again before registering it. If the row offers Verify, verify it with a code (see Add your own number); otherwise re-verify the number in Meta’s WhatsApp Manager. Then select Register again.
Not while it’s active there. Own number accepts a number that isn’t on WhatsApp yet; move the number off the app first, or add a different one. A Ringg number avoids the question.
No. Replies inside 24 hours of the customer’s last message are free-form; a template is only for a message you start outside that window.

Next steps

Create a WhatsApp agent

Attach the registered number and write a chat prompt.

Send WhatsApp messages from any agent

Add the send tools to a voice or WhatsApp agent.